
Before You Repaint a Room: A Preparation Checklist
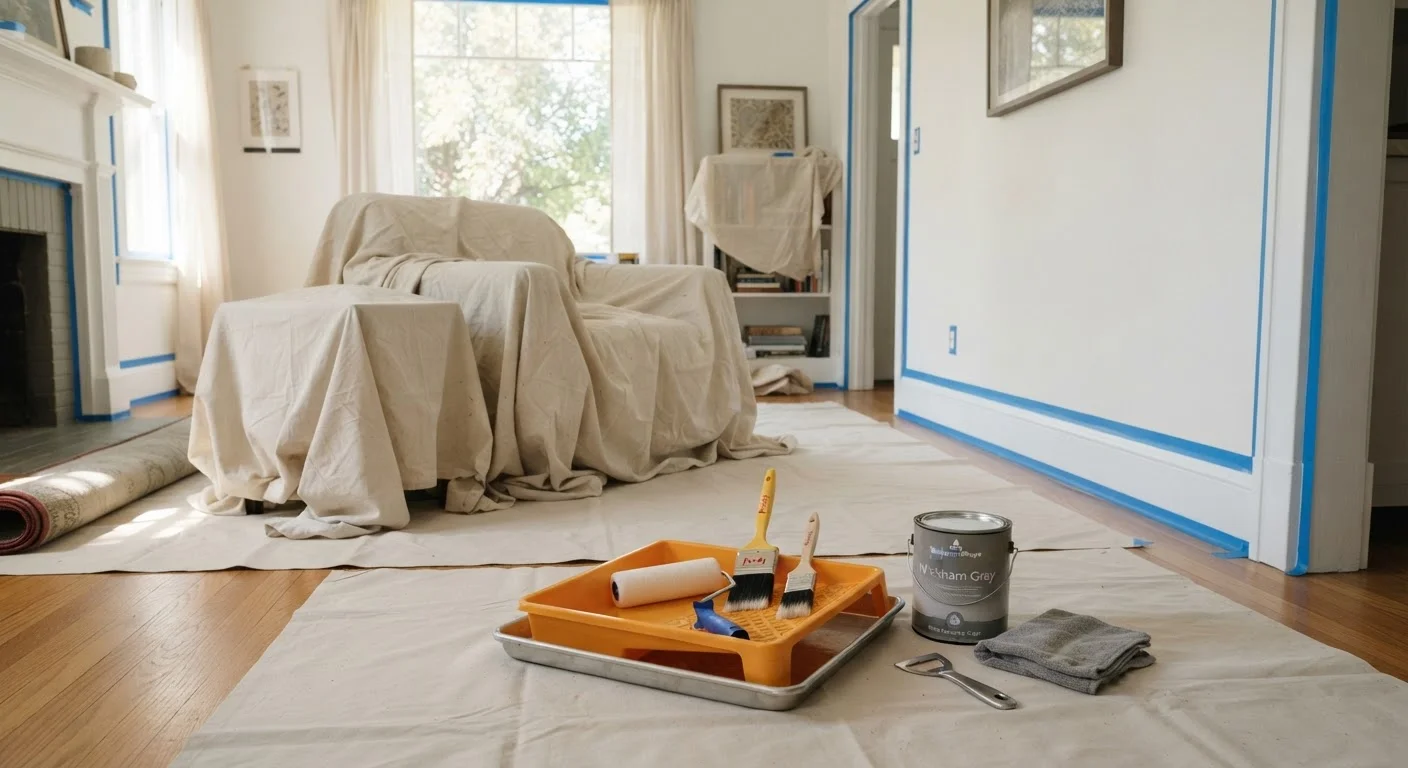
Photo credit: grub-cafe.com
In this article
Skipping prep steps is the most common reason paint jobs fail early. Use this checklist to clean, patch, prime, and protect surfaces before you open a can.
Key Takeaways
- Skipping surface cleaning is the leading cause of paint adhesion failure on interior walls.
- Small holes and cracks must be patched and sanded before primer is applied, not after.
- Primer is not optional on bare drywall, stain-prone surfaces, or when changing from dark to light color.
- Protecting floors, trim, and furniture before opening a can prevents damage that costs more to fix than the paint job itself.
- Ventilation during painting is a safety requirement, not a preference.
Why preparation determines how long paint lasts
A paint job that peels, bubbles, or shows bleed-through within a year almost always points to rushed preparation, not poor paint quality. Walls accumulate grease, dust, and residue that prevent paint from bonding properly. Hairline cracks left unpatched telegraph through even two coats. Paint applied over glossy surfaces without scuffing simply slides off over time.
The checklist below covers every preparation step for a standard interior room repaint. Work through it in order; the sequence matters because some steps (like patching) must dry completely before the next step (sanding and priming) can begin.
Lead paint risk in older homes
If your home was built before 1978, walls and trim may contain lead-based paint. Sanding or scraping this paint releases hazardous dust that is harmful, particularly to children and pregnant people. Use an inexpensive lead test kit before sanding any surface in an older home. If results are positive, follow EPA lead-safe work practice guidelines or hire a certified renovation contractor.
What you need before you start
Gather all materials before clearing the room. Stopping mid-prep to make a hardware store run wastes time and lets dust or moisture settle on surfaces you have already cleaned.
Drop cloths
Protect floors and furniture from drips and splatters throughout the entire process.
Painter's tape
Mask trim, baseboards, window frames, and door casings for clean edges.
TSP substitute cleaner
Degrease and clean wall surfaces so paint bonds properly.
Lightweight spackle and joint compound
Fill nail holes, dents, and cracks before sanding and priming.
Putty knife (4-inch and 6-inch)
Apply and smooth spackle and joint compound into damaged areas.
Sandpaper (120-grit and 220-grit)
Smooth patched areas to a flush, even surface before priming.
Primer
Seal patched spots and prepare surfaces for consistent topcoat coverage.
N95 respirator
Protect against dust when sanding and fumes when using oil-based or shellac products.
The preparation checklist
Work through each group in sequence. Items marked must are non-negotiable for a durable result. Items marked should are strongly recommended in most situations. Nice to have items add polish or convenience.
Room clearing and protection
Surface cleaning
Patching and repairs
Priming
Ventilation and safety
Final checks before painting
A note on permits and safety
Interior repainting of a room does not typically require a permit, but any work that touches electrical fixtures, gas lines, or structural elements does. If your prep reveals significant water damage, mold, or damaged wiring behind an outlet cover, stop and contact a licensed professional before continuing.
Homes built before 1978 may have lead-based paint on walls and trim. Sanding or scraping lead paint creates hazardous dust. The U.S. Environmental Protection Agency (EPA) publishes guidance on lead-safe work practices, and certified renovation contractors are required by federal law to follow those practices. If you are unsure whether lead paint is present, use a lead test kit (available at hardware stores) or hire a certified inspector before sanding any surface.
This article provides general home improvement information only. Always verify local code requirements and consult a qualified professional for work involving electrical, structural, plumbing, or hazardous-material concerns.

Author
Home and Garden Editorial Team
Home and Garden Editorial Team is the collective byline for our editorial team and contributor network. Articles published under this byline or an editorial pen name are researched, written, and reviewed according to our editorial standards for clarity, consistency, and independence before publication.
View all articles →