
DIY Tire Rotation: What Mechanics Do and Whether You Can Do It at Home
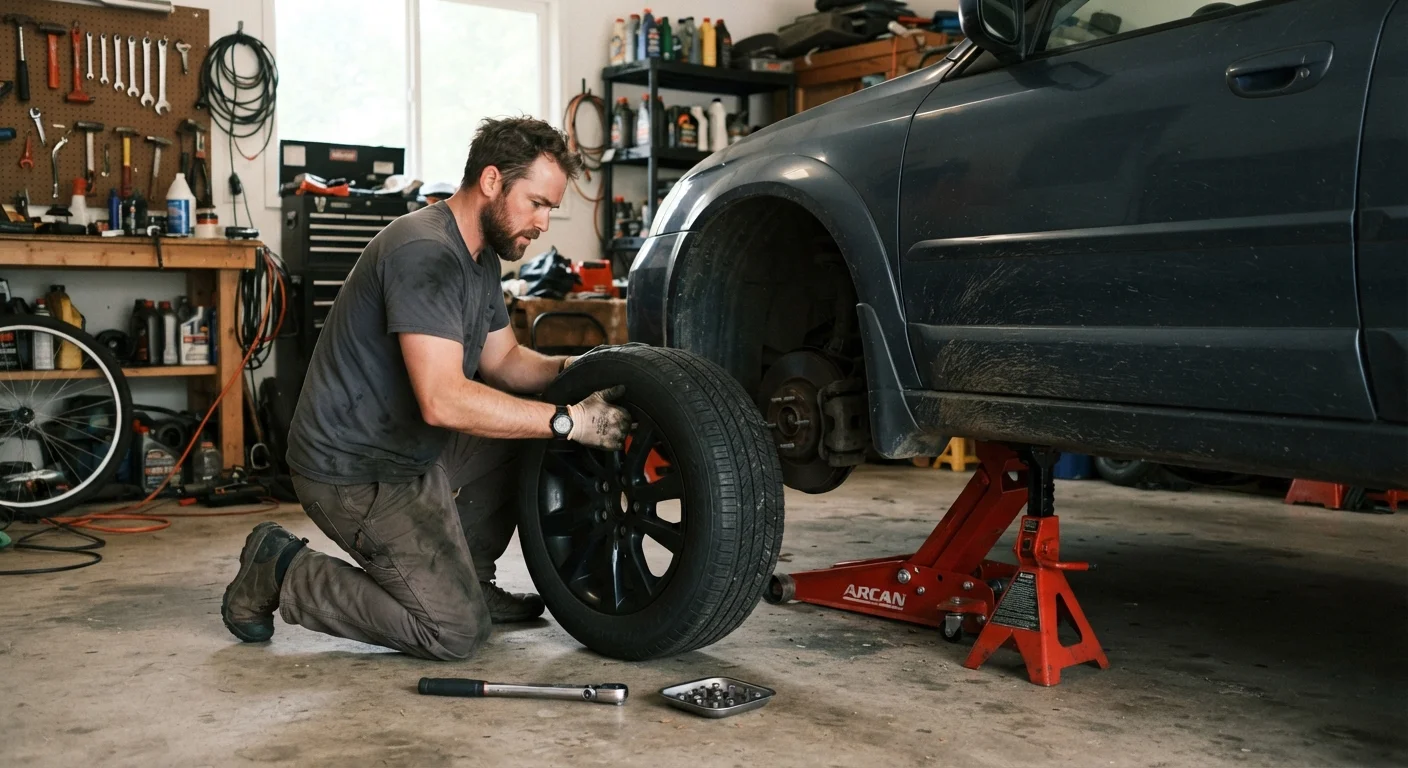
Photo credit: grub-cafe.com
In this article
Tire rotation extends tread life significantly. This guide walks through the process, the tools needed, and when it is safer to let a shop handle it.
Key Takeaways
- Rotating tires every 5,000 to 7,500 miles evens out tread wear and extends tire life.
- You need a floor jack, jack stands, and a torque wrench to do this job safely at home.
- Incorrect jacking is the most common cause of DIY tire rotation injuries and vehicle damage.
- All-wheel-drive vehicles and directional tires require specific rotation patterns.
- Some situations, such as mismatched tire sizes or TPMS sensor issues, call for a shop visit.
What tire rotation actually does
Tires wear unevenly because each wheel position puts different demands on rubber. Front tires on front-wheel-drive vehicles steer and drive at the same time, so they wear faster at the edges. Rear tires on the same car wear more slowly and often more evenly. Moving them between positions periodically spreads that wear load, which means all four tires approach the end of their usable life at roughly the same time rather than two wearing out while two are still fresh.
The practical payoff is real. A set of tires that is rotated consistently can last noticeably longer than one that is not, and replacing four tires at once is far less expensive per tire than buying two at a time in an emergency. For context on where rotation fits in the broader picture, see your car's full maintenance schedule.
Most manufacturers recommend rotation every 5,000 to 7,500 miles, often timed with an oil change. Your owner's manual will specify the interval and the approved rotation pattern for your vehicle.
Pair rotation with a visual tire inspection
Each time you rotate, spend two minutes looking at each tire's sidewall for cracks, bulges, or embedded objects. Tread wear bars (small rubber bridges molded into the grooves) becoming flush with the surrounding tread surface means the tire is at or near the legal minimum depth of 2/32 inch. Catching this early gives you time to budget for replacements rather than facing an urgent purchase.
Tools you need before you start
A shop rotates tires on a lift, where all four wheels are off the ground at once. At home, you work one axle at a time using a floor jack and jack stands. The tools below are the minimum for doing the job without putting yourself or the vehicle at risk.
Floor jack (at least 2-ton capacity)
Lifts the vehicle off the ground to allow wheel removal; a trolley-style floor jack is more stable than a bottle jack for this task.
Jack stands (pair, rated for your vehicle's weight)
Holds the vehicle securely while you work under or around it; the floor jack alone is not a safe support.
Torque wrench
Tightens lug nuts to the exact manufacturer specification, preventing both over-tightening and under-tightening.
Breaker bar or four-way lug wrench
Provides enough leverage to break lug nuts loose before lifting the vehicle.
Tire pressure gauge
Checks and corrects inflation in each tire after they have been moved to new positions.
Wheel chocks
Blocks the wheels that remain on the ground to prevent the vehicle from rolling while jacked up.
Gloves and safety glasses
Protects hands from sharp metal edges on wheels and guards eyes from debris during removal and installation.
A scissor jack from the vehicle's trunk is not adequate for this job. Those jacks are designed only for emergency roadside use, not for holding a car while you remove and reinstall wheels.
How to rotate your tires safely
Read your owner's manual before starting. It lists the correct rotation pattern for your drivetrain and notes whether your tires are directional (they have an arrow on the sidewall showing the required rolling direction) or staggered (different widths front and rear). Directional tires can only move front to rear on the same side. Staggered fitments generally cannot be rotated in the traditional sense without dismounting and remounting the rubber, which requires a shop.
Check your owner's manual for the rotation pattern
Confirm the recommended pattern for your drivetrain: forward cross, rearward cross, X-pattern, or side-to-side. Note the lug nut torque specification, which is typically between 80 and 100 ft-lbs on most passenger vehicles but varies by make and model.
Loosen the lug nuts before lifting the vehicle
With the vehicle still on the ground, break the lug nuts loose by turning them counterclockwise. Do not remove them completely, just loosen them about a half-turn. The vehicle's weight keeps the wheel from spinning while you apply torque to the wrench.
Jack up the vehicle and place jack stands
Position the floor jack under the manufacturer-specified jack point (listed in your owner's manual, usually reinforced metal near the frame or pinch welds). Raise the vehicle until the tire clears the ground, then slide a jack stand under a solid support point near the jacking location. Lower the vehicle onto the stand. Repeat for the opposite side of the same axle before removing any wheels.
Remove and relocate the wheels
Remove all lug nuts and pull the wheels off. Move each wheel to its new position according to your rotation pattern. When mounting, thread the lug nuts by hand first, then snug them in a star pattern (crossing to the opposite nut each time) to seat the wheel evenly against the hub.
Torque lug nuts to specification
Use a torque wrench to tighten each lug nut to the manufacturer's specification. Work in a star pattern again and complete at least two full passes to confirm all nuts reach the correct torque. Over-tightening can warp brake rotors or stretch wheel studs; under-tightening can allow a wheel to work loose.
Check tire pressure and reset TPMS if needed
Each tire may have been inflated to slightly different pressures over time. After rotation, check all four with a quality tire pressure gauge and inflate to the pressure shown on the sticker inside your driver's door jamb, not the maximum pressure printed on the tire sidewall. If your TPMS light comes on after driving, consult your owner's manual for the relearn procedure.
After the job is done, drive a short distance, then recheck that each wheel's lug nuts are still at the correct torque. Thermal expansion after the first few miles can slightly change the clamping force.
When to hand the job to a mechanic
DIY rotation makes sense for many drivers, but several situations make a shop the more practical choice. If your vehicle has a tire pressure monitoring system (TPMS) with sensors that need to be relearned after a position change, some scan tools are required to reset them, and not all basic home tool kits include one. Your dashboard tire pressure light will tell you if this is an issue after the rotation.
All-wheel-drive vehicles sometimes call for tires that are within a few thirty-seconds of an inch of each other in tread depth across all four positions. If your tires are at different wear stages, a shop can measure and advise before a mismatch causes drivetrain strain.
If your vehicle uses run-flat tires, the sidewalls are stiffer and can mask damage. A technician can inspect the sidewall and inner liner more thoroughly on a lift. For more on weighing DIY versus professional service, comparing dealer service centers and independent mechanics is worth reading.
This article is for general informational purposes. Always follow your vehicle manufacturer's instructions and consult a qualified mechanic when you have doubts about a task's safety or suitability for your specific vehicle.

Author
Automotive Editorial Team
Automotive Editorial Team is the collective byline for our editorial team and contributor network. Articles published under this byline or an editorial pen name are researched, written, and reviewed according to our editorial standards for clarity, consistency, and independence before publication.
View all articles →