
A Family's First Guide to Indoor Composting
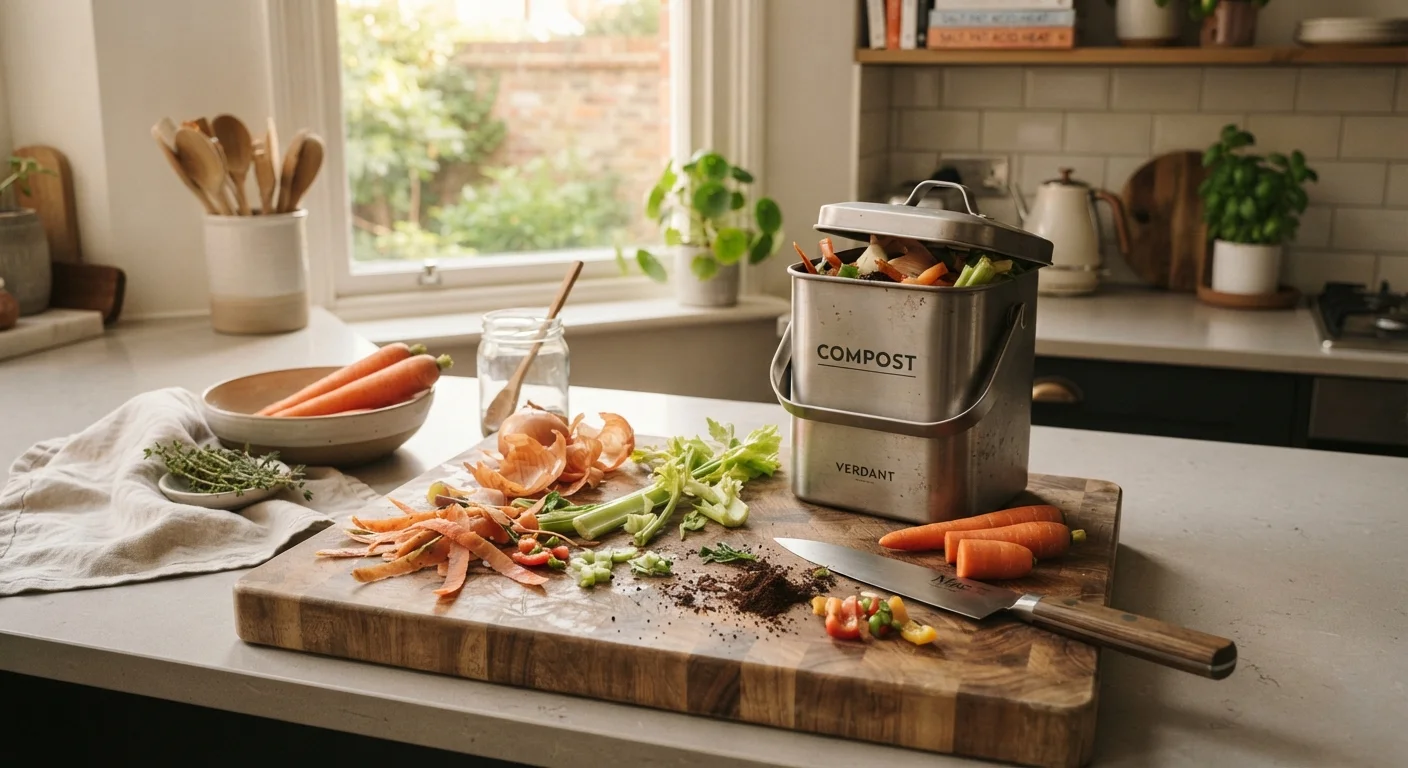
Photo credit: grub-cafe.com
In this article
Indoor composting cuts waste and feeds your garden for free. This beginner-friendly guide walks through setup, what to compost, and how to avoid common odor issues.
Key Takeaways
- Indoor composting turns daily kitchen scraps into free, nutrient-rich soil amendment.
- Worm bins and bokashi are the two methods best suited to most indoor spaces.
- Balancing wet food scraps with dry carbon material prevents most odor problems.
- Finished compost reduces the need to buy potting soil or fertilizer.
- Even apartment dwellers with no outdoor space can compost successfully indoors.
Why indoor composting makes sense for families
The average American household throws away a substantial portion of the food it buys, much of it as scraps that could feed a compost bin instead of a landfill. Composting those scraps indoors converts a daily waste stream into a free soil amendment for container plants, raised beds, or a backyard garden.
For families watching their grocery and garden budgets, that trade-off is practical. Finished compost reduces how much potting mix and fertilizer you need to buy each season. If you already grow food at home, the savings compound quickly. See our guide to raised bed gardening on a budget for ideas on putting that compost to work.
Indoor composting also works in spaces where outdoor bins are not an option, including apartments and rentals. The two methods covered here require no yard, no complicated equipment, and no large financial commitment to get started.
Choosing the right indoor composting method
Two methods are practical for most households: vermicomposting (worm bins) and bokashi fermentation.
Vermicomposting
A worm bin uses red wigglers to break down food scraps into castings, a concentrated compost that plants respond to well. A basic setup fits inside two nested plastic storage bins with drainage holes drilled between them. Red wigglers are available from garden suppliers and some hardware stores. The worms need moist, dark conditions and a steady supply of food scraps balanced with dry bedding such as shredded cardboard or newspaper.
Bokashi fermentation
Bokashi uses a mixture of microorganisms, available as inoculated bran, to ferment food scraps in an airtight bucket. The process handles meat and dairy that worm bins cannot. After two weeks of fermentation, the material is buried in soil or added to an outdoor compost pile to finish breaking down. Bokashi buckets take up about the same space as a small trash bin and produce a liquid byproduct that can be diluted and used as a plant feed.
Vermicomposting
A method of composting that uses worms, typically red wigglers, to break down food scraps into nutrient-rich castings.
Bokashi
A fermentation-based composting method using microorganism-inoculated bran to break down food scraps, including meat and dairy, in an airtight container.
Worm castings
The solid waste produced by worms after digesting organic material, used as a concentrated soil amendment.
Carbon-to-nitrogen ratio
The balance between dry carbon-rich materials (like cardboard) and wet nitrogen-rich materials (like food scraps) in a compost system. Getting this balance right prevents odors and speeds breakdown.
Bokashi bran
Wheat or rice bran inoculated with beneficial microorganisms, used to kickstart fermentation in a bokashi composting system.
What to put in and what to keep out
Worm bins accept most raw fruit and vegetable scraps, coffee grounds, tea bags (paper ones), crushed eggshells, and plain paper products. Bokashi systems accept those same items plus cooked food, small amounts of meat, and dairy.
Both systems benefit from a rough balance between wet scraps (nitrogen-rich, sometimes called greens) and dry carbon material (browns). Without enough dry material, bins become waterlogged and start to smell.
| Add freely | Add sparingly | Keep out (worm bins) |
|---|---|---|
| Vegetable peels, fruit scraps | Citrus rinds, onion skins | Meat, fish, dairy |
| Coffee grounds, tea bags | Bread, cooked grains | Oily or greasy foods |
| Shredded cardboard, newspaper | Eggshells (crushed) | Pet waste |
Citrus and onion skins can be added to worm bins in small amounts, but large quantities may slow worm activity. When in doubt, bury scraps under existing bedding rather than leaving them exposed on top.
Setting up your system step by step
Worm bin setup
- Drill roughly 20 small holes in the bottom of a plastic storage bin (about 10 to 14 gallons) and a row of holes near the top sides for airflow.
- Nest this bin inside a second bin of the same size. The gap between them collects liquid drainage.
- Fill the inner bin about halfway with moist, shredded cardboard or newspaper as bedding. The bedding should feel like a wrung-out sponge.
- Add red wigglers. A pound of worms is a practical starting amount for a family-sized bin.
- Bury a small amount of food scraps under the bedding and leave the worms to settle for a few days before feeding regularly.
Bokashi bucket setup
- Get an airtight bucket with a spigot at the bottom for draining liquid.
- Add a layer of food scraps, sprinkle bokashi bran over them, and press the scraps down to remove air pockets.
- Seal the lid tightly after each addition. Drain the liquid every few days.
- Once the bucket is full, seal it and let it ferment for two weeks before emptying.
Keep a counter caddy to reduce trips
A small lidded container on the kitchen counter collects scraps throughout the day without requiring a trip to the main bin after every meal. Empty it into the worm bin or bokashi bucket every two to three days. This habit keeps the kitchen tidy and makes composting easier to maintain long-term.
Keeping odors under control
Most odor problems have a simple cause: too many wet scraps and not enough dry material. When a worm bin smells sour or ammonia-like, the fix is usually to add a thick layer of shredded cardboard and stop feeding for a few days.
Bokashi bins can smell strongly of vinegar, which is normal for fermentation. The bucket should stay sealed between additions. If the smell is truly unpleasant and not vinegar-like, the fermentation may have failed, often because the bran was old or the lid did not seal properly.
General practices that keep both systems from becoming a problem in shared living spaces:
- Keep a small covered container on the counter for daily scraps, then transfer to the main bin every two to three days rather than after every meal.
- Always cover new food scraps with bedding or bran immediately after adding them.
- Keep the bin away from heat sources, which speed decomposition faster than the system can handle.
- Check drainage containers weekly and empty them to prevent buildup.
Using finished compost in your garden
Worm castings are ready to use when they look dark, crumbly, and earthy, with no recognizable food pieces remaining. Mix them into potting soil at a ratio of roughly one part castings to four parts soil, or use small amounts as a top dressing around established plants.
Bokashi pre-compost needs a few more weeks after burial before it is ready. Dig a trench or hole in a garden bed, fill it with the fermented material, cover it with soil, and wait three to four weeks before planting in that spot.
Either output will improve soil structure and feed soil microbes without synthetic inputs. For families growing vegetables in raised beds, the volume a single worm bin produces over a season can meaningfully reduce fertilizer costs. The water-saving practices guide pairs well here, since compost-amended soil generally retains moisture better and reduces irrigation needs.
Frequently Asked Questions

Author
Home and Garden Editorial Team
Home and Garden Editorial Team is the collective byline for our editorial team and contributor network. Articles published under this byline or an editorial pen name are researched, written, and reviewed according to our editorial standards for clarity, consistency, and independence before publication.
View all articles →