
Raised Bed Gardening on a Tight Budget
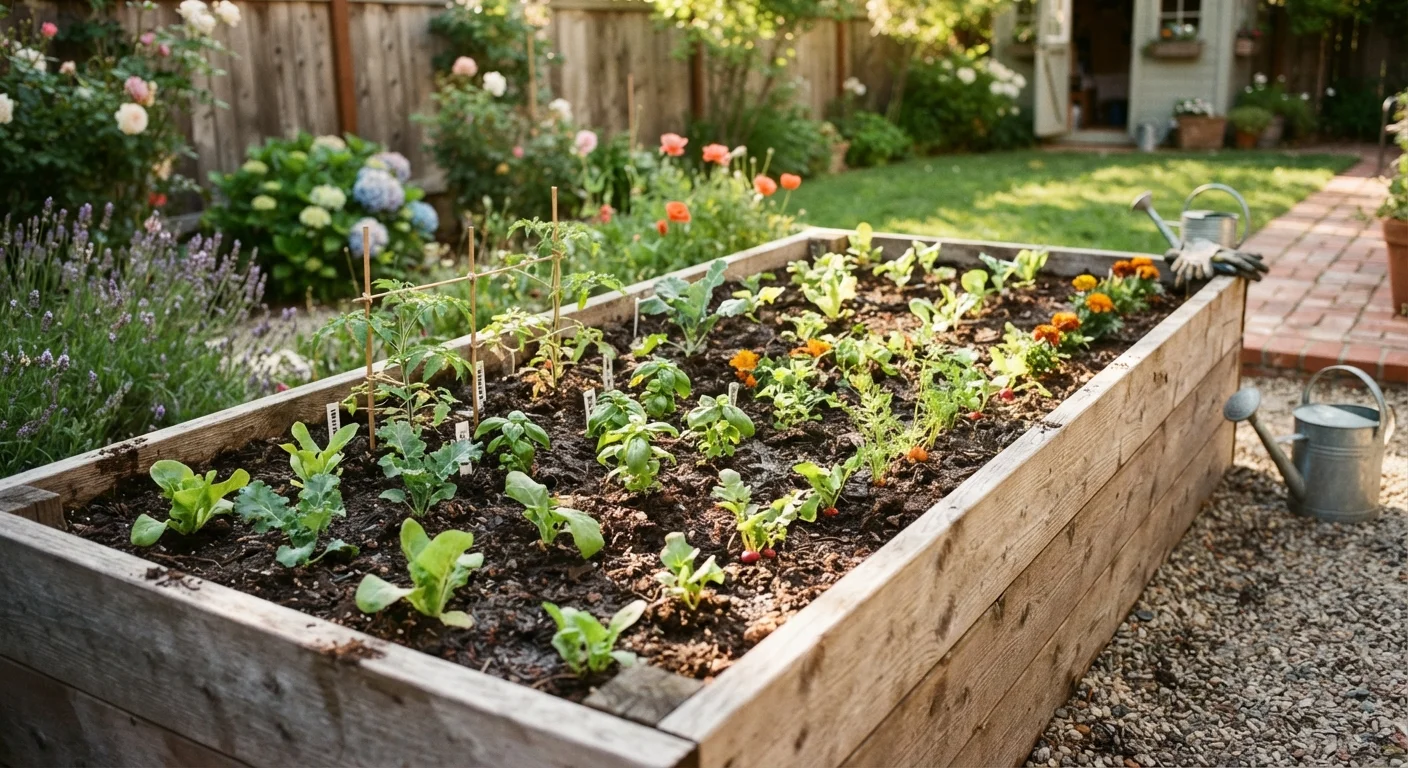
Photo credit: grub-cafe.com
In this article
Learn how to build and fill raised garden beds affordably, using salvaged materials and low-cost soil blends that still support healthy crops.
Key Takeaways
- Salvaged lumber, concrete blocks, and pallets can replace expensive cedar kits for a fraction of the cost.
- A blended soil mix of topsoil, compost, and coarse material outperforms bagged garden soil alone.
- Beds sized 4 feet wide by 8 feet long let you reach every plant without compacting the soil.
- Starting compost at home cuts ongoing soil amendment costs significantly over time.
- Choosing the right site, at least six hours of daily sun, determines crop success more than any material choice.
Why raised beds make financial sense
Ground-level gardening sounds cheaper until you factor in the cost of amending heavy clay or sandy native soil season after season. A raised bed lets you control exactly what goes into the growing zone from day one, so you spend less correcting problems and more harvesting food.
The productivity-per-square-foot of a well-managed raised bed also tends to exceed traditional row gardening because close plant spacing crowds out weeds and reduces watering needs. For families trying to stretch grocery dollars, even a 4x8 bed planted with tomatoes, peppers, and greens can meaningfully offset produce costs over a growing season. See common landscaping mistakes that inflate costs for related context on where yard spending often goes wrong.
What you need before you start
Gather your materials and assess your site before breaking ground. The two non-negotiables are adequate sunlight (six or more hours of direct sun daily) and access to water. Everything else can be sourced affordably.
What you will need
Lumber or concrete blocks
Forms the walls of the raised bed; salvaged wood, construction scraps, or concrete blocks all work.
Drill and screws (or hammer and nails)
Fastens lumber corners together securely.
Tape measure
Ensures the bed dimensions stay square and reachable from both sides.
Wheelbarrow or large tarp
Mixes and transports soil blend to the bed site.
Cardboard (unpainted, uncoated)
Used as a weed barrier under the bed at no cost.
Coarse wood chips or straw
Mulches the bed surface to retain moisture and slow weed germination.
Building and filling your raised bed step by step
Follow these steps in order. Skipping the soil preparation phase is the most common reason first-year beds underperform.
Choose and prepare your site
Pick a level or near-level spot that gets six or more hours of direct sun. Remove any tall grass or dense vegetation. Lay overlapping sheets of unpainted cardboard directly on the ground where the bed will sit: this suppresses weeds without chemicals and breaks down within a season.
Source and cut your bed materials
A 4-foot by 8-foot footprint is the standard because you can reach the center from either side without stepping into the bed. For walls, you have several low-cost options:
- Untreated pine or fir lumber (2x6 or 2x8 boards), which typically lasts three to five years
- Concrete blocks stacked two high, which need no fasteners
- Salvaged wood from deconstruction sites or online classifieds, checking that it was not treated with older preservatives
Cut lumber to length: two 8-foot pieces and two 4-foot pieces per layer. A single layer of 2x8 gives you about 7.5 inches of growing depth, sufficient for most vegetables.
Assemble the frame
Stand the 4-foot end boards inside the 8-foot side boards to form a rectangle. Pre-drill pilot holes to prevent splitting, then drive two or three 3-inch screws or galvanized nails through each corner joint. Check that the frame sits flat on the cardboard layer. Adjust by pressing down on high corners or adding soil beneath low ones.
Mix and fill with a soil blend
Bagged "garden soil" alone often compacts and drains poorly in a raised bed. A more effective blend uses roughly equal thirds of:
- Topsoil (bulk delivery is substantially cheaper per cubic foot than bagged)
- Compost (homemade, municipal, or bagged)
- A coarse amendment such as aged wood chips, perlite, or coarse sand to maintain drainage
A 4x8 bed with 8-inch walls needs approximately 21 cubic feet of fill. Fill to about one inch below the top edge so soil does not wash out when watering.
Plant and mulch
Follow seed packet or transplant spacing guidelines. Raised beds support closer spacing than row gardens because the looser soil and better drainage accommodate denser root zones. After planting, apply two to three inches of straw or wood chip mulch around seedlings to hold moisture and reduce watering frequency.
Once your bed is planted, water management becomes the main ongoing cost. Water-saving techniques for home gardens covers drip irrigation and scheduling approaches that work well with raised beds. Growing more of your own food also pairs naturally with strategies covered in eating well on a tight budget.
Keeping costs low in following seasons
The first year carries most of the expense. After that, your main recurring costs are seeds, any soil top-dressing, and water. Setting up a compost system dramatically cuts the soil amendment line. The family guide to indoor composting walks through a low-effort setup that works even in small homes.
Save seeds from open-pollinated varieties at the end of each season. Store them in labeled paper envelopes in a cool, dry spot and you can replant at near-zero seed cost the following spring. Refresh only the top two to three inches of bed soil each year rather than replacing the entire volume, and your material costs stay modest indefinitely.

Author
Home and Garden Editorial Team
Home and Garden Editorial Team is the collective byline for our editorial team and contributor network. Articles published under this byline or an editorial pen name are researched, written, and reviewed according to our editorial standards for clarity, consistency, and independence before publication.
View all articles →