
Pre-Road-Trip Vehicle Checklist for Families
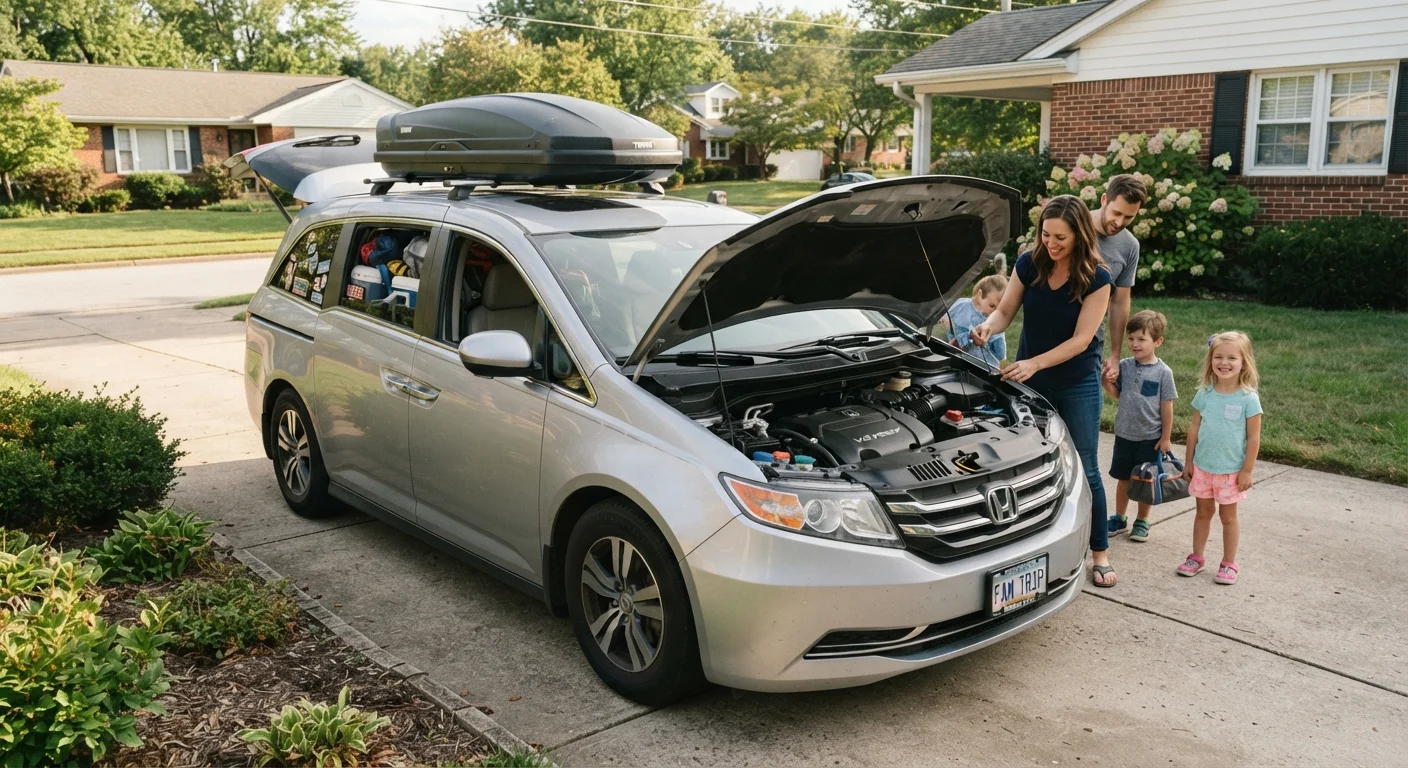
Photo credit: grub-cafe.com
In this article
Before loading the car for a family trip, run through this practical vehicle checklist covering fluids, tires, lights, and safety equipment.
Key Takeaways
- Checking tire pressure and tread before departure reduces blowout risk and improves fuel economy.
- Topping off fluids takes less than 15 minutes and can prevent engine damage on long drives.
- A working spare tire and basic emergency kit are non-negotiable for family travel.
- Many pre-trip checks require no tools and no mechanical experience.
- Catching a small problem before you leave is almost always cheaper than roadside assistance.
Why a pre-trip check pays for itself
A vehicle breakdown on a family road trip costs more than repair fees. Towing charges, hotel nights waiting for parts, and lost vacation time add up fast. Running through a structured check the day before departure addresses the most common failure points and takes under an hour for most vehicles.
This checklist covers the items that matter most for highway driving with passengers. You do not need a lift, special tools, or mechanical training to complete the majority of these steps. If any item reveals a problem you cannot address yourself, see our guide to managing repair costs safely before deciding how to proceed.
If any dashboard warning light is already on when you start the car, address it before the trip. Our plain-language dashboard warning light reference explains what each symbol signals and which ones require immediate attention.
Never check coolant on a hot engine
Opening the radiator cap or coolant reservoir on a warm or hot engine can cause scalding fluid to spray out under pressure. Wait at least 30 minutes after the engine has been running before checking coolant. If the temperature gauge was in the normal range and the engine feels cool to the touch near the cap, it is generally safe to proceed.
Brake concerns require a mechanic, not a delay
If you notice low brake fluid, a spongy pedal, grinding noise when stopping, or the vehicle pulling to one side during braking, do not treat these as minor issues to monitor on the road. Brake problems can escalate quickly at highway speeds with a loaded vehicle. Have the system inspected by a qualified mechanic before departure.
What you need to complete this checklist
Most items below require only your owner's manual and a few minutes. The tools listed here cover the steps that go beyond a visual check.
Tire pressure gauge
Measures PSI in each tire so you can inflate accurately to the manufacturer's specification.
Owner's manual
Lists the correct fluid types, capacities, and tire pressure for your specific vehicle.
Flashlight
Lets you inspect engine bay components, tire sidewalls, and under the vehicle in low-light conditions.
Tread depth gauge
Provides a precise tread depth reading; a quarter works as a quick substitute.
Funnel and appropriate fluids
Needed to top off engine oil, coolant, or washer fluid without spilling.
The full pre-road-trip vehicle checklist
Work through each group in order. The first two groups (fluids and tires) carry the highest risk if neglected on a long drive. Complete those before moving to lights and safety gear.
Fluids
Tires
Lights and visibility
Belts and brakes
Emergency and safety equipment
For families new to checking their own vehicle, this introductory maintenance guide walks through fluid checks and tire reading in more detail.
Connecting vehicle prep to your broader family budget
A pre-trip check is a cost-avoidance habit, not a one-time task. Vehicles that are serviced consistently cost less to operate over time. If you track household expenses, road trip preparation fits naturally into a monthly review. Our monthly household financial checkup routine includes a section on upcoming irregular expenses, which is where vehicle maintenance and travel costs belong.
Once your vehicle is cleared, the next step is planning the trip itself. Planning a family road trip on a tight budget covers route mapping, fuel cost estimates, and lodging decisions that keep total trip costs manageable.

Author
Automotive Editorial Team
Automotive Editorial Team is the collective byline for our editorial team and contributor network. Articles published under this byline or an editorial pen name are researched, written, and reviewed according to our editorial standards for clarity, consistency, and independence before publication.
View all articles →